Step-by-Step Guide: Installing Your Own Kitchen Backsplash Tiles
Ready to transform your space with an elegant and flexible wall design?
ClickDeco’s Click'n Tile offers a revolutionary alternative to traditional ceramic tiles.
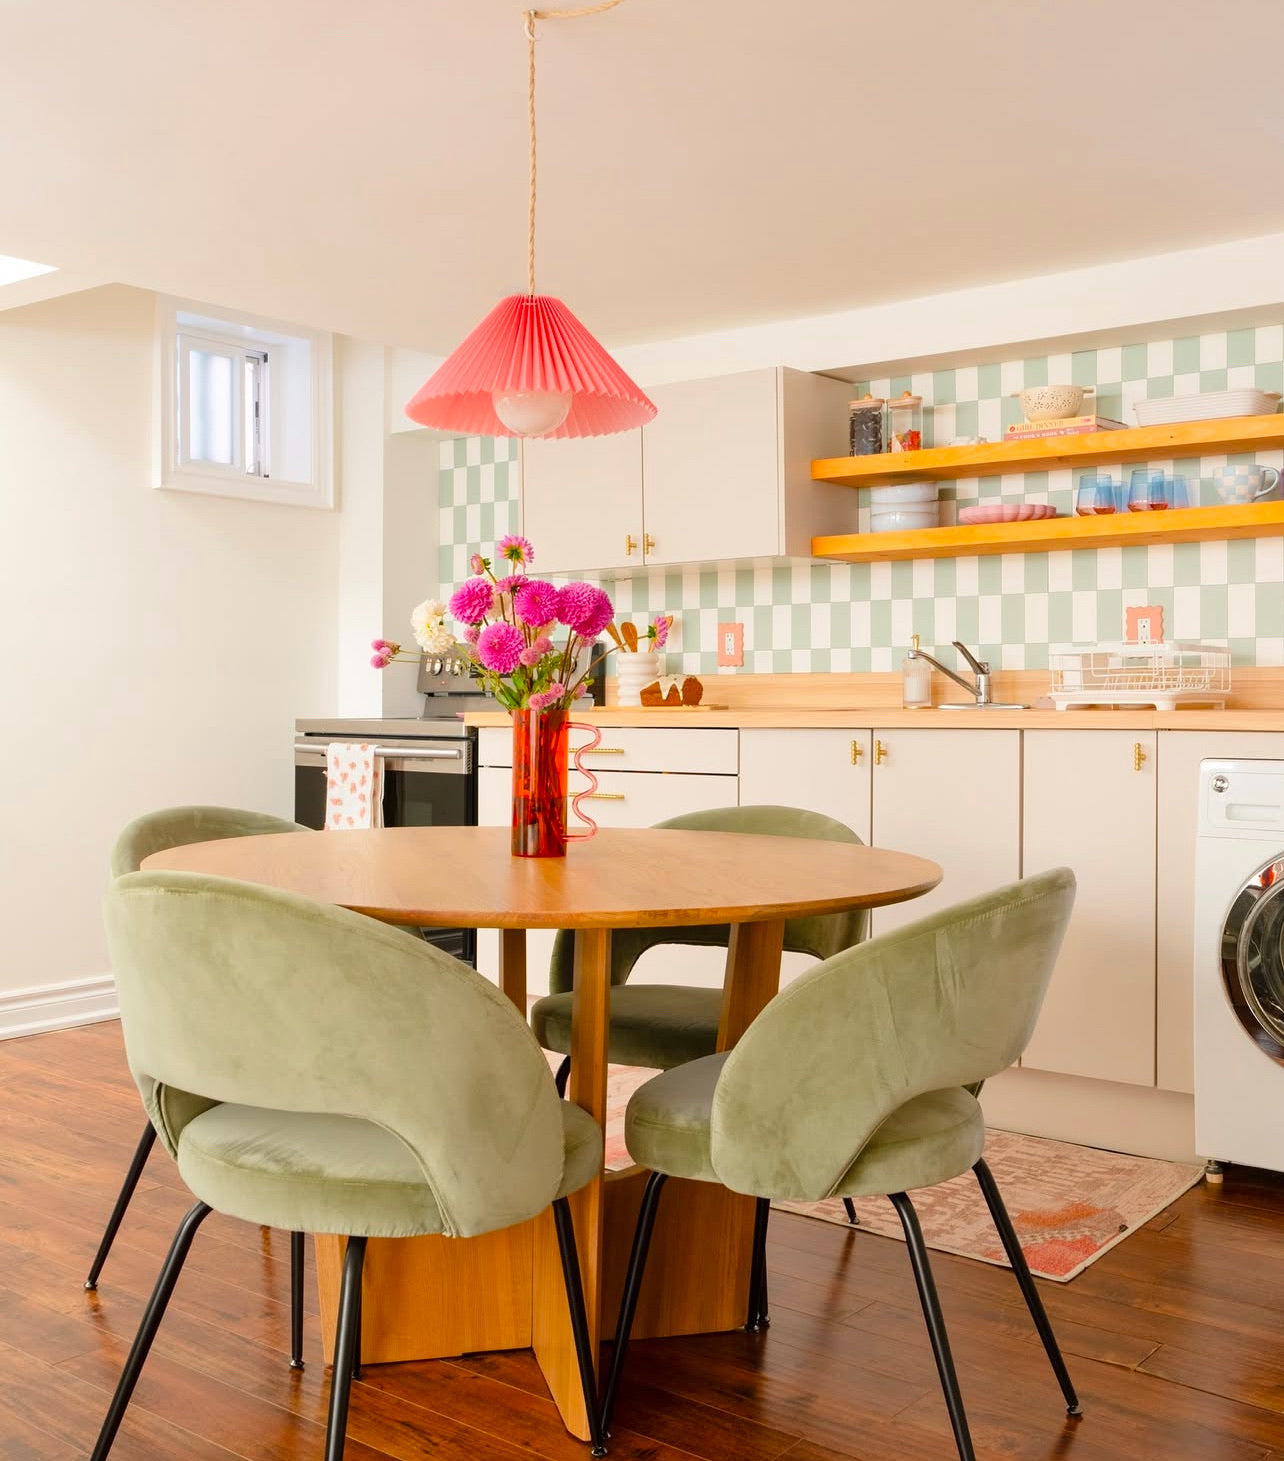
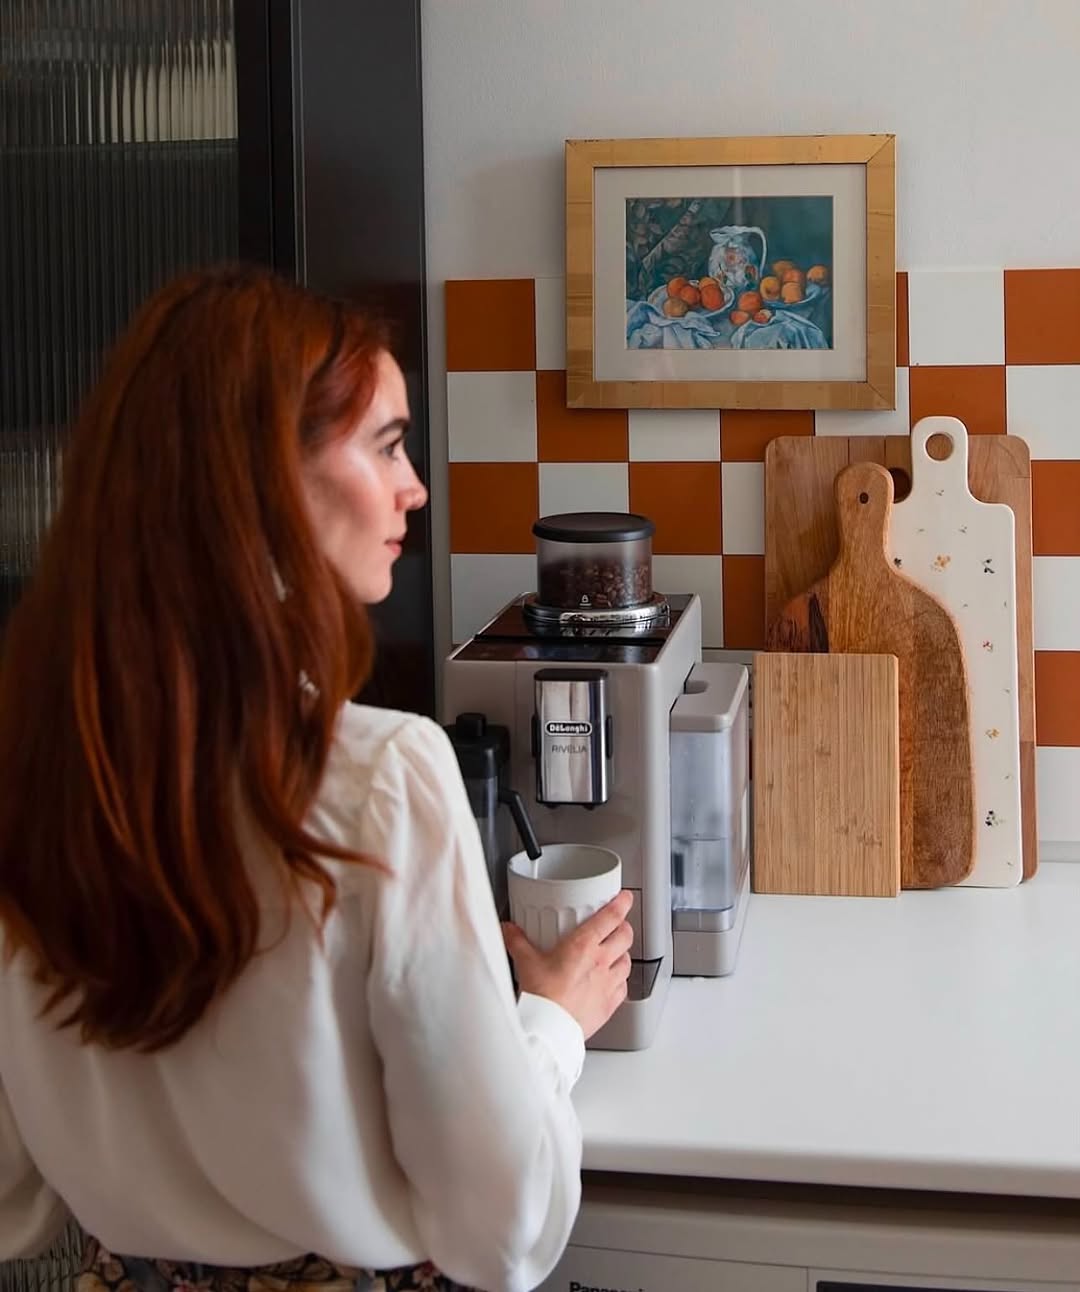
Perfect for kitchen backsplashes and creative interior decoration, these versatile tiles offer an easy-to-install, customizable solution that evolves with your style.
Whether you want to refresh your kitchen, add character to your living room, or create an accent wall in any room, our tiles can help you achieve your vision.
We invite you to explore our tiles section to discover designs that match your style and transform your space without the hassle of traditional installation.
What you need to install your own kitchen backsplash tiles
Before starting your transformation project with Click’n Tile by ClickDeco, it's important to gather all necessary materials.
Our system has been designed with simplicity in mind, requiring minimal tools and materials for installation.
This approach not only makes the installation process more accessible but also reduces the time and effort needed to complete your project.
Unlike traditional tile installation, which often requires numerous specialized tools and materials, our system focuses on efficiency and ease of use.
Here's everything you'll need:
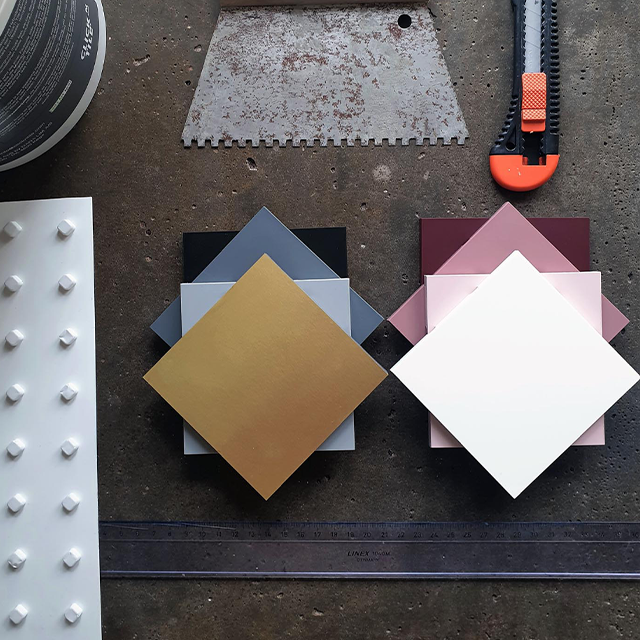
- ClickDeco’s mounting plates
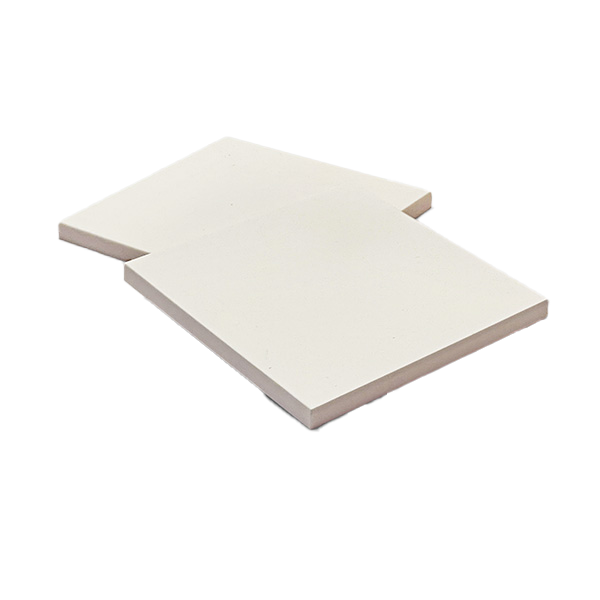
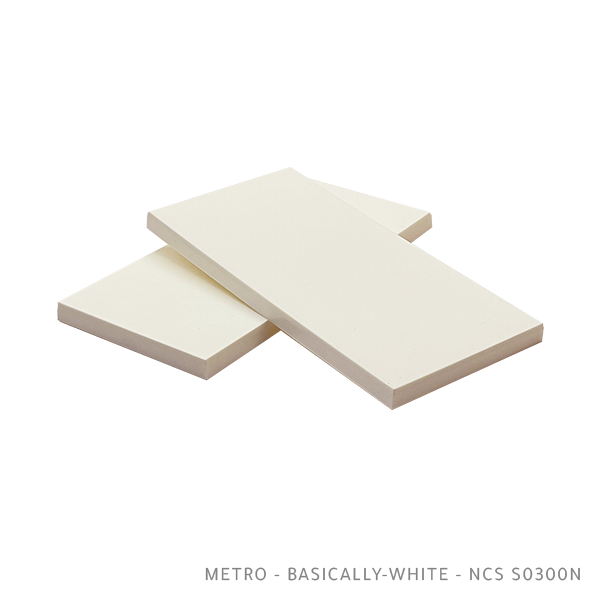
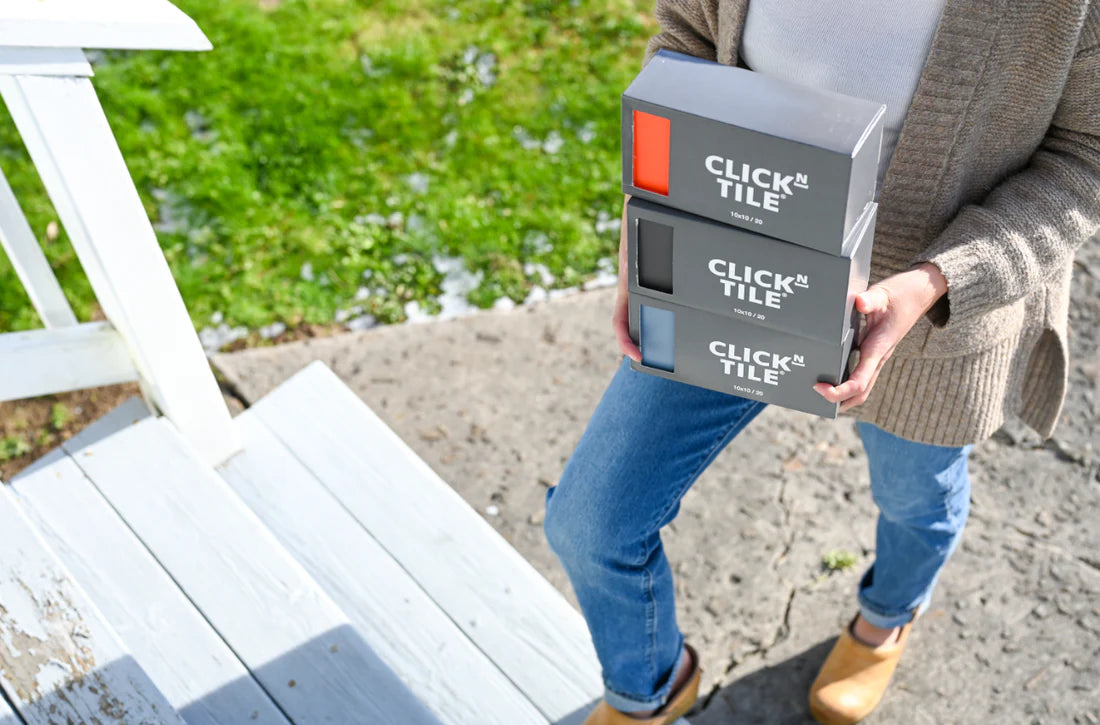
- Your chosen Click’n Tile tiles
- For permanent installation: 100% silicone adhesive
- For temporary installation: Double-sided tape
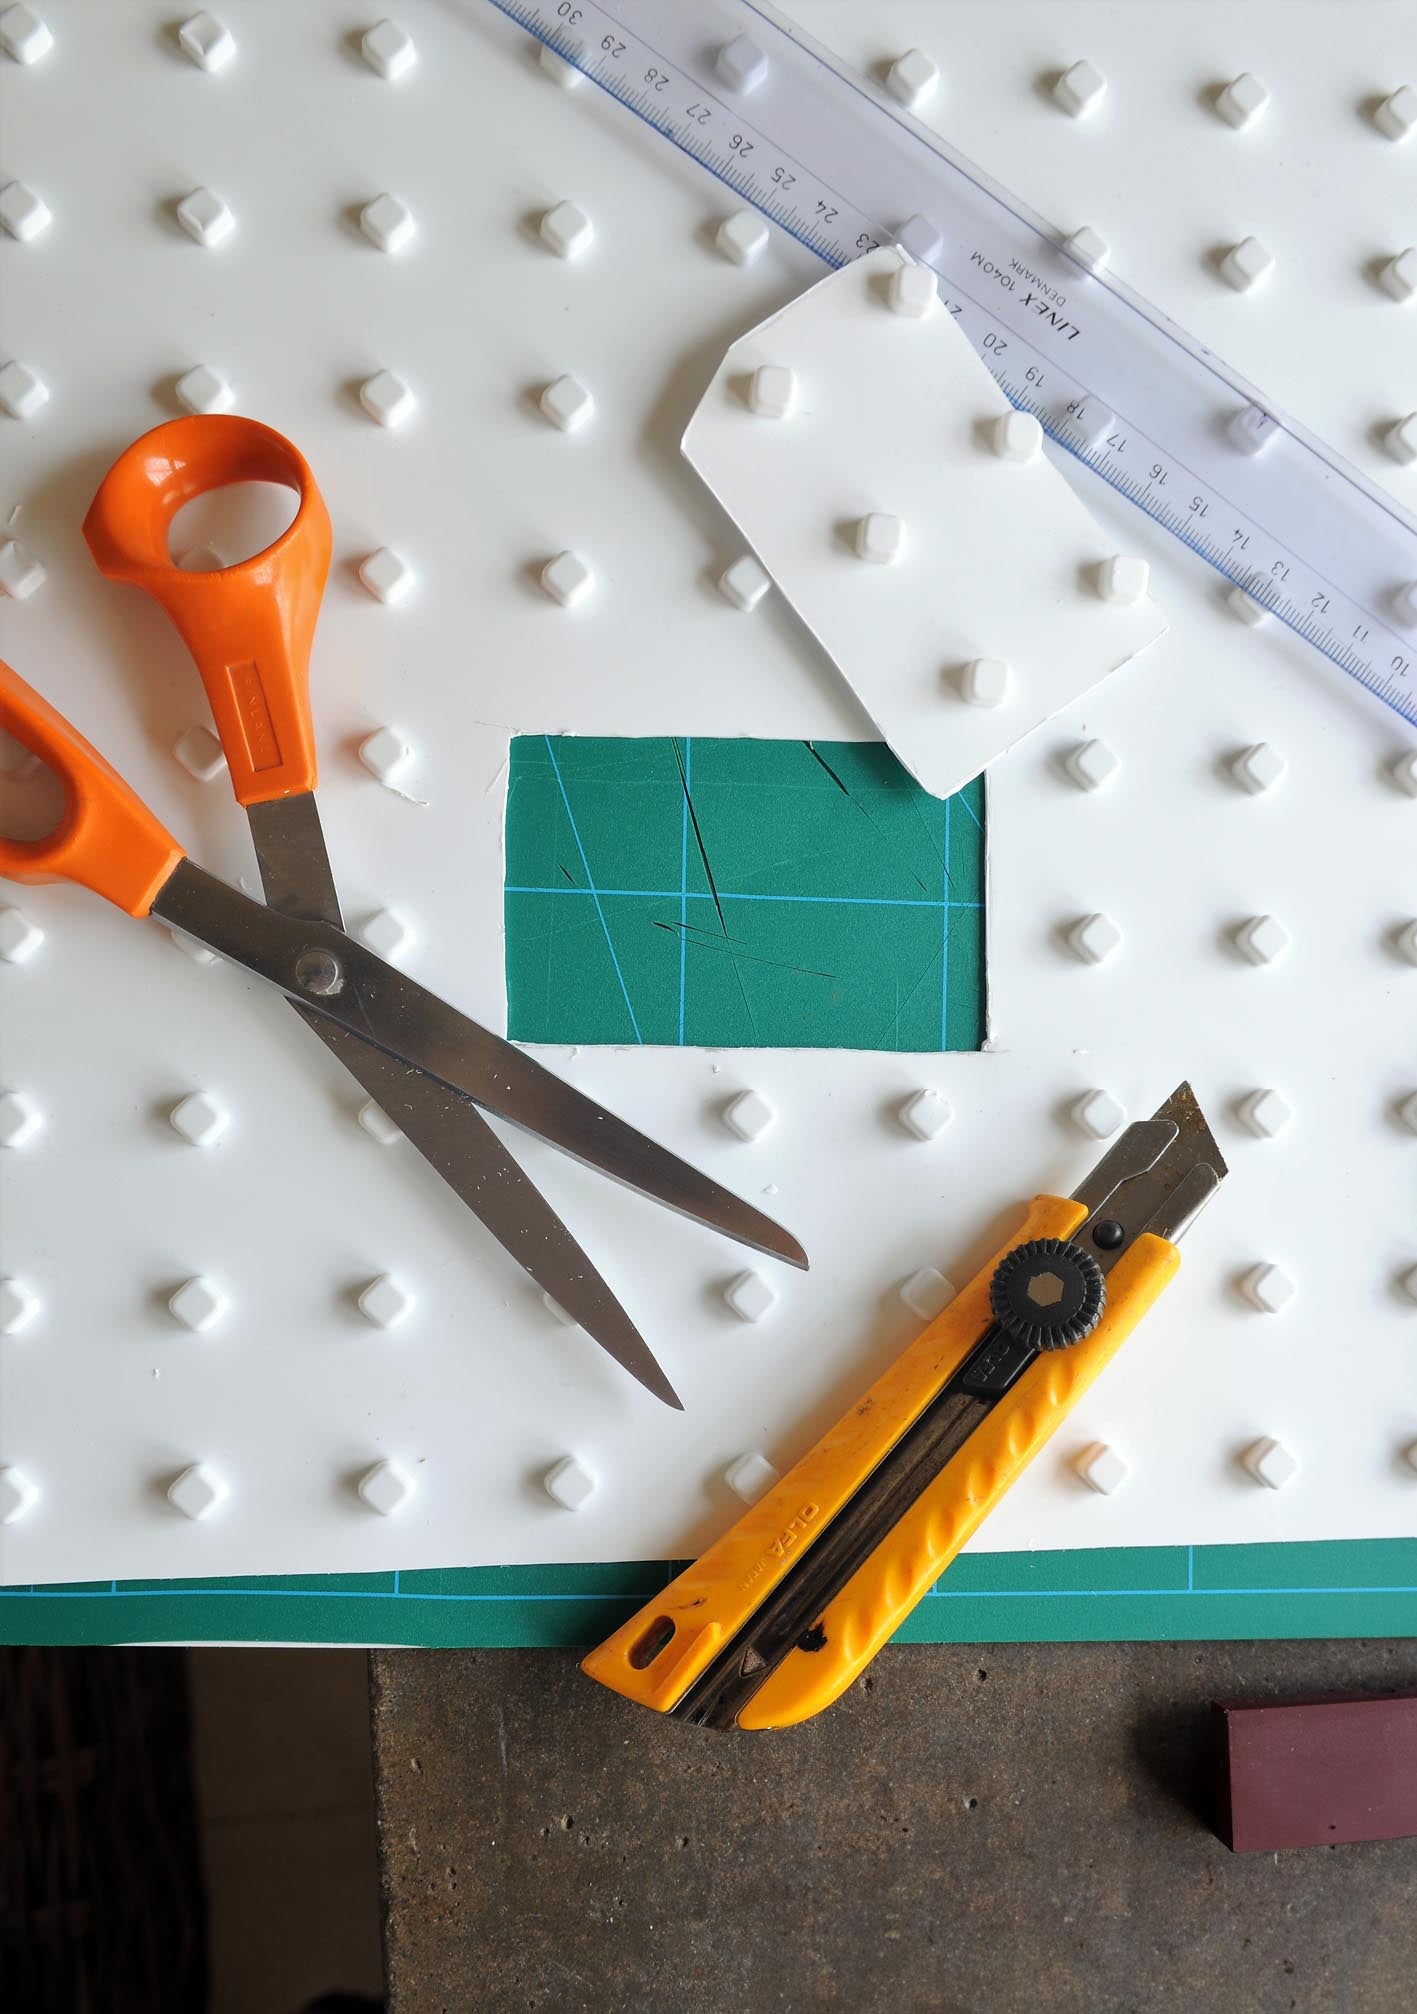
- Scissors or cutting tool for mounting plates
- Jigsaw (if tile cutting is needed)
- Suction cup (for future tile removal/replacement)
- Level
- Measuring tape
- Pencil
- Optional: Fine-tip erasable markers for customization
How to prepare your wall before installing your kitchen backsplash tiles
The success of your Click’n Tile installation begins with proper wall preparation.
This crucial step ensures that your mounting plates will adhere properly, and your tiles will stay securely in place for years.
While traditional tile installation often requires extensive wall preparation and specialized materials, our system significantly simplifies this process.
Taking the time to properly prepare your wall will ensure optimal results and longevity for your installation:
- Clean the wall surface thoroughly
- Ensure the wall is completely dry
- Remove any loose paint or wallpaper
- Mark your installation area with level lines
- Plan your layout before starting
Installing the mounting plate for Click’n Tile
The mounting plate serves as the foundation for your entire tiles system, making its proper installation crucial for the overall success of your project.
This innovative component is what sets the Click’n Tile product apart from traditional installation methods.
The mounting plate has been specifically designed to make installation as simple as possible while ensuring secure attachment for your tiles:
- Measure your space carefully
- Cut mounting plates to size if needed
- For permanent installation:
- Apply 100% silicone adhesive to the mounting plate
- Press firmly against the wall
- For temporary installation:
- Apply double-sided tape to the mounting plate
- Position carefully before pressing against the wall
H2 Installing the Click’n Tile on your kitchen backsplash
The installation of Click’n Tile represents the most exciting part of the transformation process, where your design vision begins to take shape. Our innovative clip system makes this step remarkably simple, allowing you to easily attach and detach tiles as needed:
- Start from your planned starting point
- Simply clip tiles onto the mounting plate (like connecting Lego pieces)
- Ensure each tile is securely attached
- Continue the pattern according to your design
Customizing your Kitchen Backsplash
One of the most attractive features of Click’n Tile is the unlimited potential for customization and personal expression. Unlike traditional ceramic tiles that remain fixed once installed, our system allows for continuous creativity and design evolution:
- Use fine-tip erasable markers to write messages on tiles
- Change tiles seasonally to refresh your decor
- Create different patterns by rotating or rearranging tiles
- Mix and match colors and designs for unique combinations
Maintenance of your Click’n Tile kitchen backsplash
Maintaining your Click’n Tile is remarkably simple and requires minimal effort to keep them looking fresh and beautiful. Our innovative product not only makes installation easy but also ensures simple and hassle-free long-term maintenance:
- Clean tiles with regular household cleaners
- Tiles can be washed in the dishwasher for deep cleaning
- Use our suction cup to easily remove and replace tiles
- Avoid installation in shower/bath areas
- Not suitable for floor installation
Conclusion: It’s easy to install a kitchen backsplash with Click’n Tile
The Click’n Tile’s interchangeable tiles system offers an eco-friendly and economical alternative to traditional ceramic tiles.
Whether you're a homeowner looking to refresh your kitchen backsplash, a renter seeking temporary design solutions, or a commercial property owner wanting flexible decoration options, ClickDeco offers the perfect solution.
We invite you to explore our tiles section to discover our vast collection.
Perfect for kitchen backsplashes, living room accents, bathroom walls, or any room needing a decorative touch, these versatile tiles allow you to create beautiful designs that can be easily updated as your style evolves.


